Views: 0 Author: Site Editor Publish Time: 2024-03-23 Origin: Site


Leaking ball valves can be a nuisance in any plumbing system, causing water wastage and potential damage to your property. Understanding the steps to fix a leaking ball valve is crucial for homeowners and professionals alike. This article will guide you through the process of diagnosing and repairing a ball valve leak effectively.
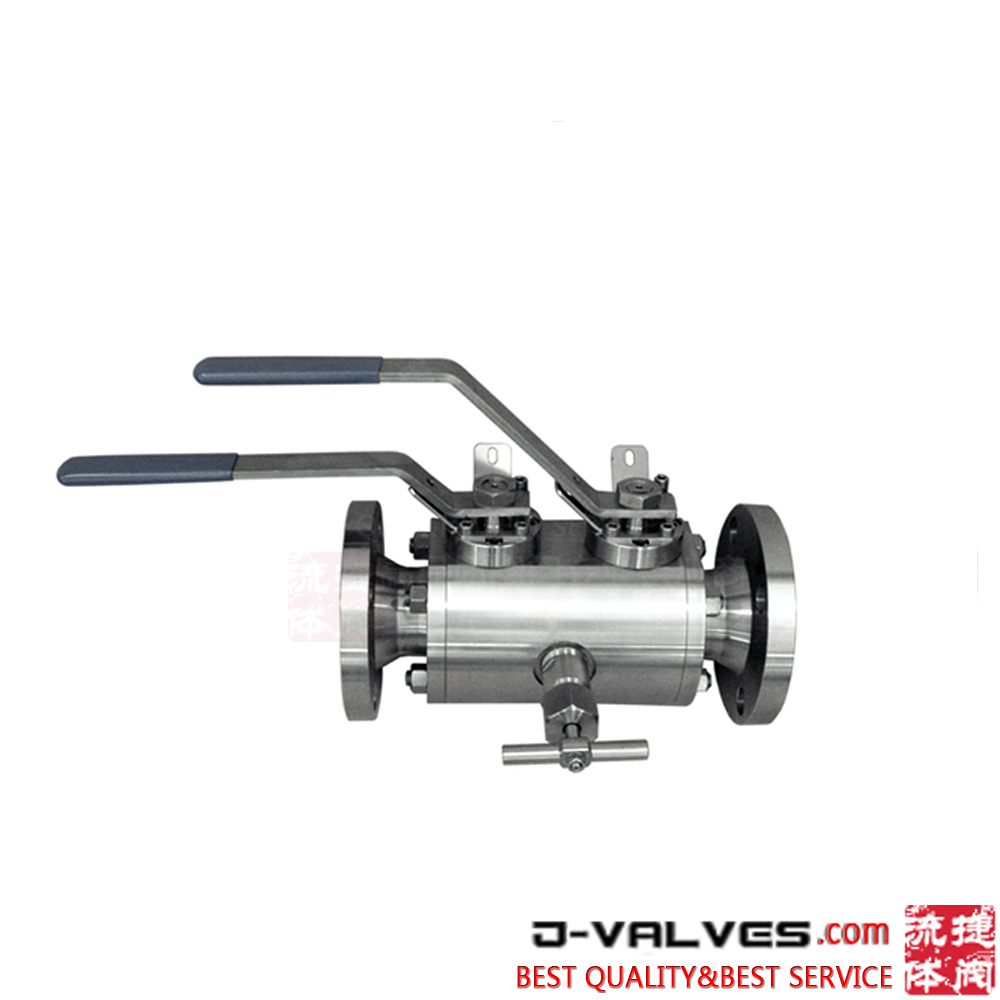
The first step in fixing a leaking ball valve is to identify where the leak is coming from. Ball valves, being a vital component in controlling water flow, can leak from several places - the handle, the body, or the connections. Inspecting the ball valve carefully to pinpoint the exact source of the leak is essential for a successful repair.
Often, leaks in a ball valve originate from the handle area, specifically around the packing nut. Tightening the packing nut can sometimes stop the leak. However, if over-tightening occurs, it might cause further damage to the ball valve's internal mechanisms.
If tightening the packing nut does not resolve the leak, the problem might lie within the valve body itself. Cracks or damage to the body can lead to leaks. In such cases, replacing the ball valve might be the only viable solution.
Leaks can also occur at the connections where the ball valve joins with pipes. Checking for loose connections and replacing worn-out seals or gaskets can often remedy these types of leaks.
If tightening external components does not fix the leak, disassembling the ball valve for a more thorough inspection might be necessary. This step requires caution and understanding of the ball valve's design to avoid causing further damage.
Before disassembling the ball valve, ensure that the water supply is turned off. This prevents water from gushing out when you open up the valve and allows for a safer repair process.
Carefully disassemble the ball valve by removing its handle, bonnet, and any other accessible parts. This exposes the ball mechanism and the valve seats, allowing for detailed inspection and cleaning.
Once disassembled, inspect all internal components for signs of wear or damage. Cleaning these parts can often remove debris that might be causing the leak. Pay special attention to the ball itself and its seals, as these are common areas for leaks to develop.
During inspection, if you find any components that are damaged or excessively worn out, replacing them is necessary to fix the leak. This might include the ball, seals, or even the entire ball valve if it's beyond repair.
When looking for replacement parts, ensure they are compatible with your specific ball valve model. Using incorrect parts can lead to improper sealing and further leaks.
After replacing any faulty components, reassemble the ball valve carefully. Ensure all parts fit snugly together and that there are no gaps where water can escape.
Once you've reassembled your ball valve and turned the water supply back on, it's important to test for leaks immediately. Operate the valve in various positions and observe if any leaks persist.
If possible, performing a pressure test on the repaired ball valve can provide additional assurance that the leak has been successfully fixed. This involves pressurizing the system and checking for any pressure drops that would indicate a leak.
Even if immediate tests show no leaks, keep an eye on the repaired ball valve over time. Some leaks may only become apparent under certain conditions or after prolonged use.
In conclusion, fixing a leaking ball valve involves a systematic approach of identifying the source of the leak, disassembling and inspecting internal components, replacing any damaged parts, and testing thoroughly to ensure the repair is successful. With patience and attention to detail, most leaking ball valves can be repaired effectively, restoring their functionality and preventing water wastage.