Company Address: Room 708, Building 7, Wanda Commercial Plaza, No. 1188 Yongding Road, Longwan District, Wenzhou City, Zhejiang Province, China Factory Address: Building 2, Baiqiang Valve Industrial Park, Wuxing Industrial Zone, Oubei Town, Yongjia County, Wenzhou City, Zhejiang Province, China
Soldering a ball valve into place is a crucial skill for many DIY enthusiasts and professionals alike. The process involves using a heat source to melt solder around the joint between a ball valve and the piping, creating a watertight seal. Whether you're working on a plumbing project at home or in an industrial setting, mastering the art of soldering can save time and money while ensuring the durability and reliability of your work.
Understanding Ball Valves
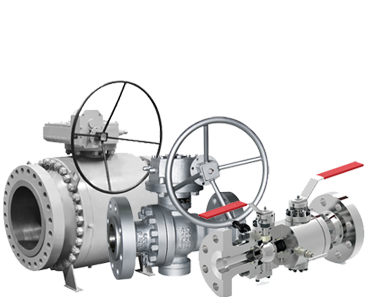
Before diving into the soldering process, it's important to have a solid understanding of what a ball valve is and why it's used. A ball valve is a form of quarter-turn valve which uses a hollow, perforated, and pivoting ball to control flow through it. It's opened when the ball's hole is in line with the flow and closed when it's pivoted 90-degrees by the valve handle. The simplicity of its design and its sealing capabilities make the ball valve a popular choice for controlling water, gas, and oil in various applications.
Preparing for Soldering
The first step in soldering a ball valve is preparation. This includes gathering all necessary tools and materials such as a propane torch, lead-free solder, flux, sandpaper or a wire brush, and safety gear. Cleaning the surfaces that will be joined is crucial for a strong bond. Use sandpaper or a wire brush to clean the inside of the ball valve and the outside of the pipe. After cleaning, apply flux evenly to both surfaces. The flux helps clean the metal surfaces during heating and allows the solder to flow more freely.
The Soldering Process
With your work area prepared and safety gear in place, you're ready to begin soldering. Heat the joint area evenly with a propane torch until the flux sizzles. Touch the solder to the joint; if it melts, apply it around the entire joint circumference, allowing capillary action to draw it into the joint. Remove the heat once enough solder has been applied, and allow the joint to cool naturally without blowing on it. Proper cooling ensures a strong, sealed joint.
Testing and Troubleshooting
After soldering your ball valve and allowing it ample time to cool, it's important to test the joint for leaks. This can be done by turning on the water supply or introducing air pressure into the system. Any leaks will require re-evaluation of your soldering technique. Common issues include not applying enough heat, failing to clean the surfaces properly, or not using enough solder. If leaks are present, you may need to reheat the joint and add more solder or start over with a new fitting.
Soldering a ball valve correctly requires patience, attention to detail, and practice. By understanding ball valves, preparing thoroughly, following the soldering steps carefully, and testing your work, you can ensure a secure and leak-free connection. Whether for home repairs or professional projects, mastering this skill can lead to successful plumbing installations and repairs.
Manufacturer and supplier of industrial valves, including Floating Ball Valves, Trunnion Ball Valves, Flanged Gate Valves, Welded Gate Valves, High Pressure Gate Valves, Globe Valves, Swing Check Valves, Double Disc Wafer Check Valves, Y Strainers , etc. For more information, please send us your email .